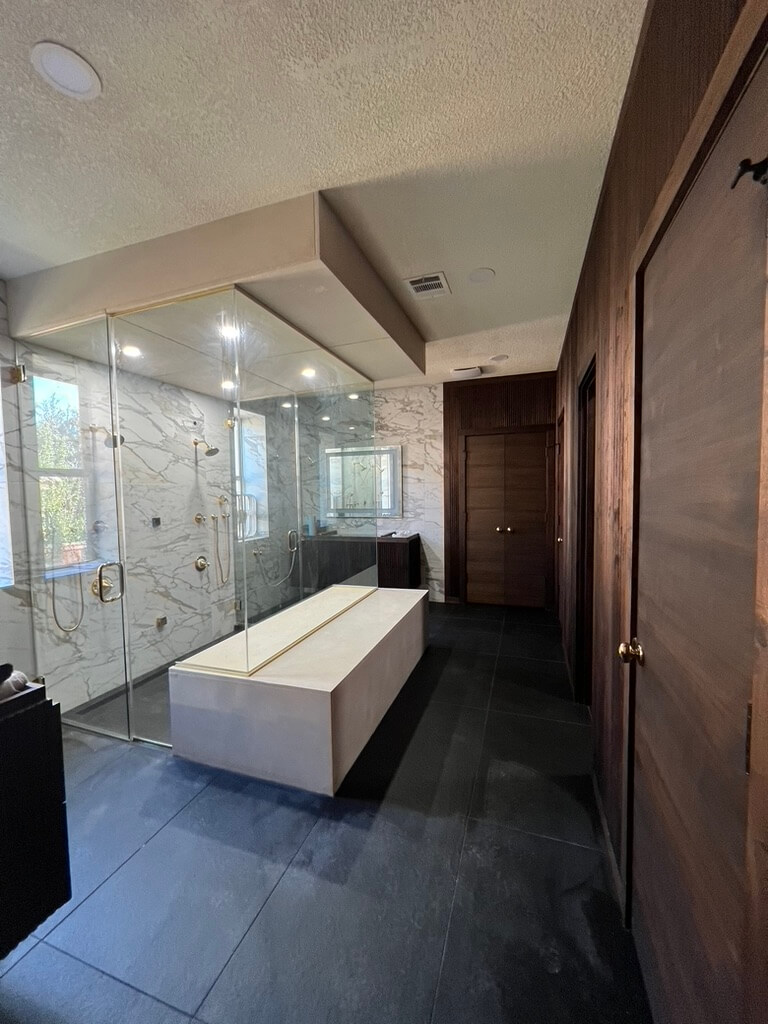
Luxury Steam Shower Bathroom Remodeling Austin TX
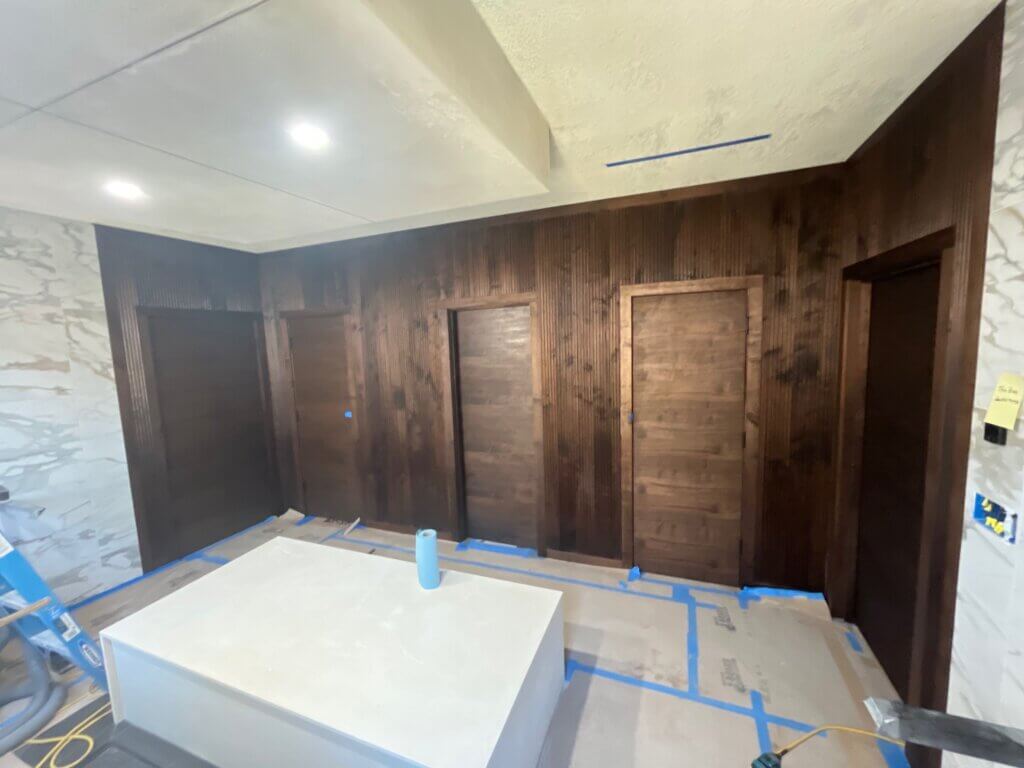
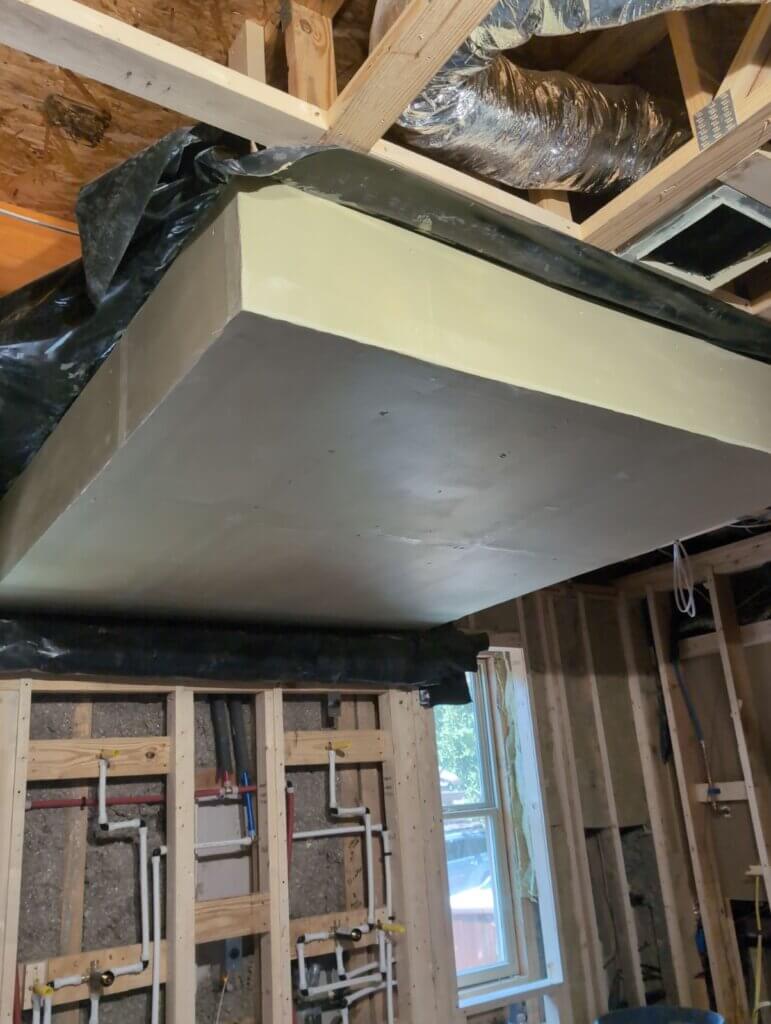
We executed this highly customized luxury steam shower bathroom remodeling project that we recently completed in the West Lake Hills part of Austin TX. This project involved a high level of customization with every aspect of the project. We made the walls and cabinetry in a custom milled tongue & groove solid walnut with a custom combed pattern. We custom made soffit & shower seat with concrete cladding that was formed and poured on site. I also made the counter tops with integrated sinks in the matching concrete. Instead of just showcasing a bunch of finished pictures, I am going to highlight different aspects of the construction process for this bathroom remodel.
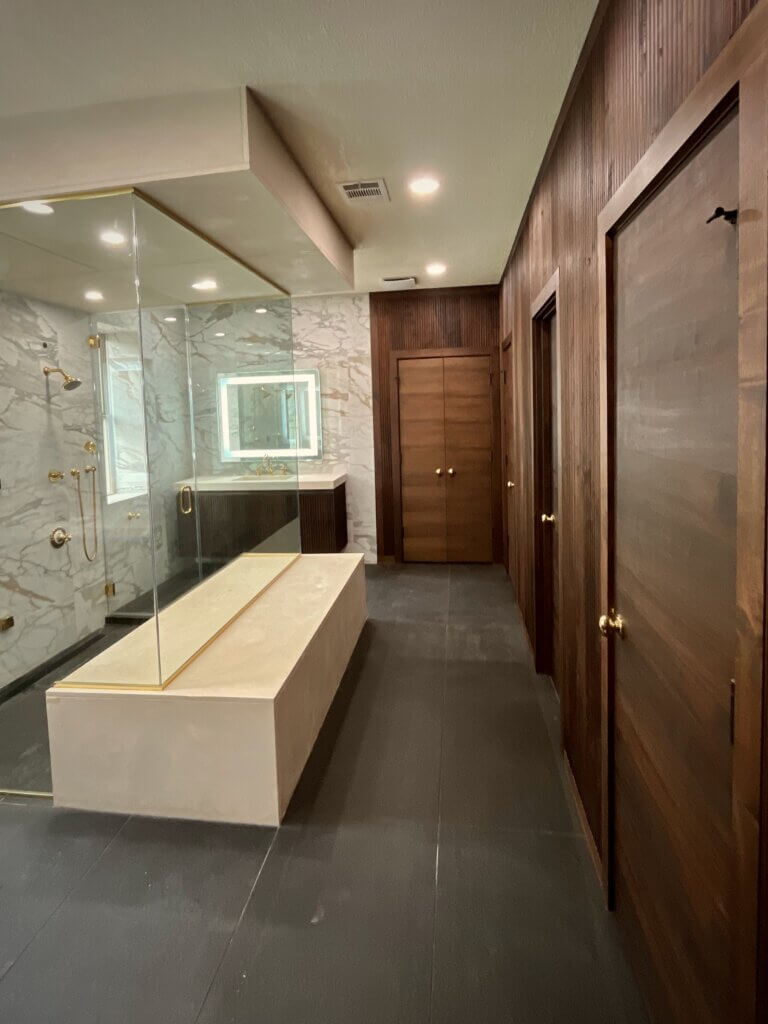
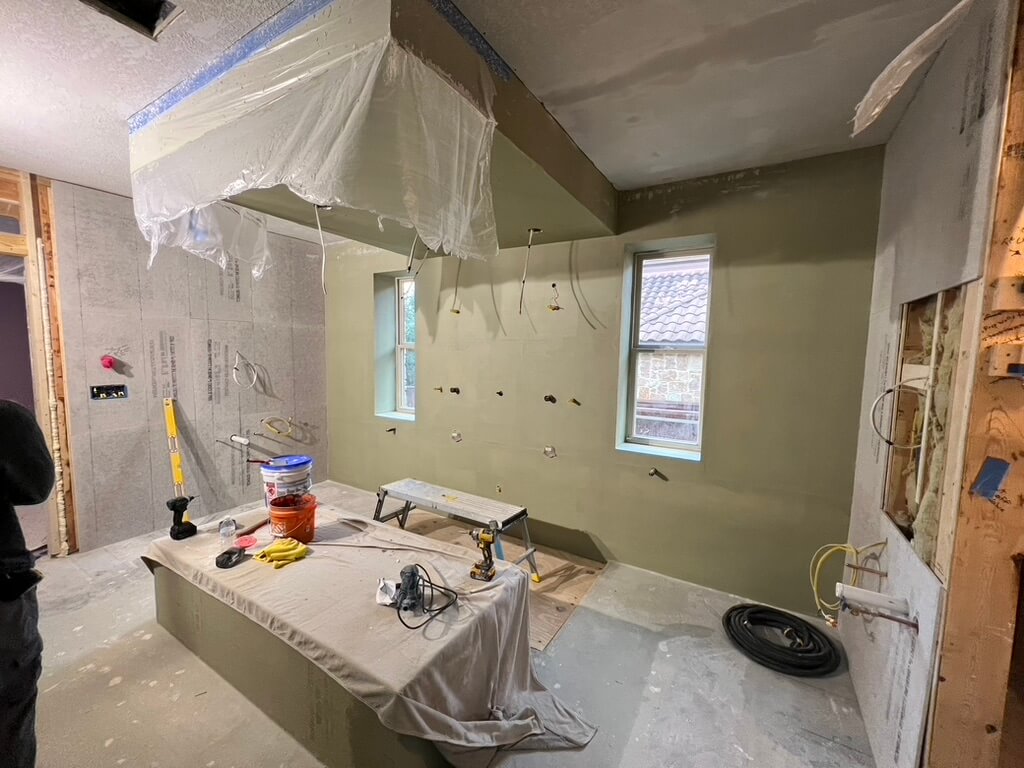
This picture (BELOW) is what the bathroom looked like before the remodeling. Between that and the finished picture (Above), you get a clear depiction of the level of transformation we achieved with this bathroom remodeling project.
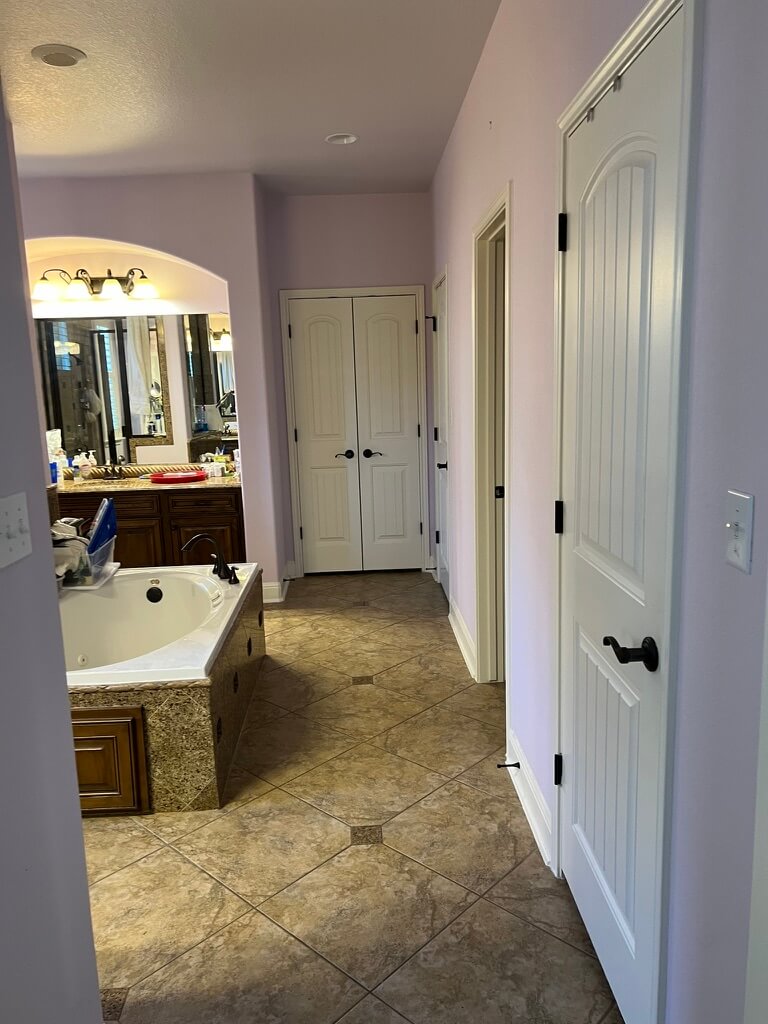
BEFORE
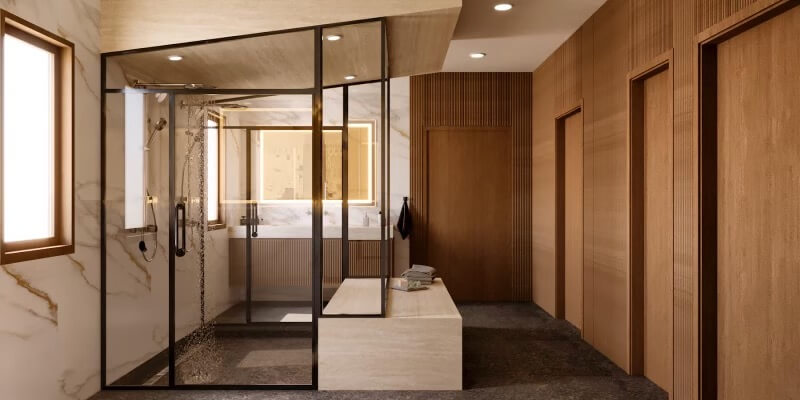
Here is a picture of the original design (Below) to give you an idea of how faithful we were to the original bathroom design.
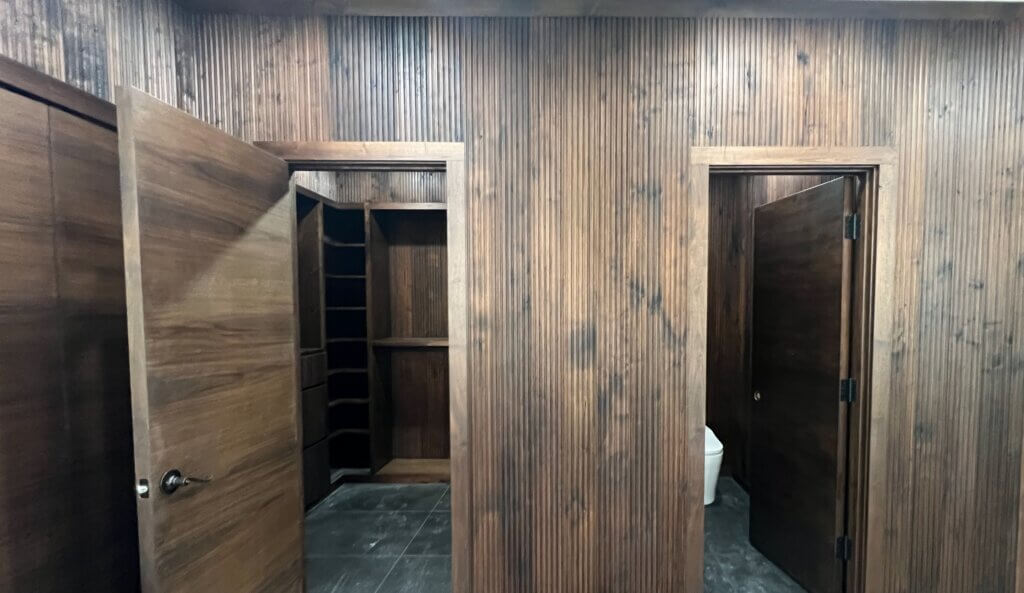
CUSTOM MILLED WALNUT
The walls & trim (Below) are all made of custom milled walnut.
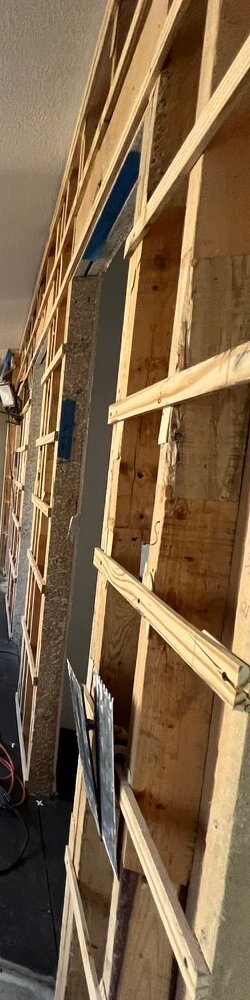
(Right) We furred the wall out to make sure that we corrected all of the irregularities of the original framing. This preparation ensures that the walls are perfectly plumb and square, prior to the walnut application.
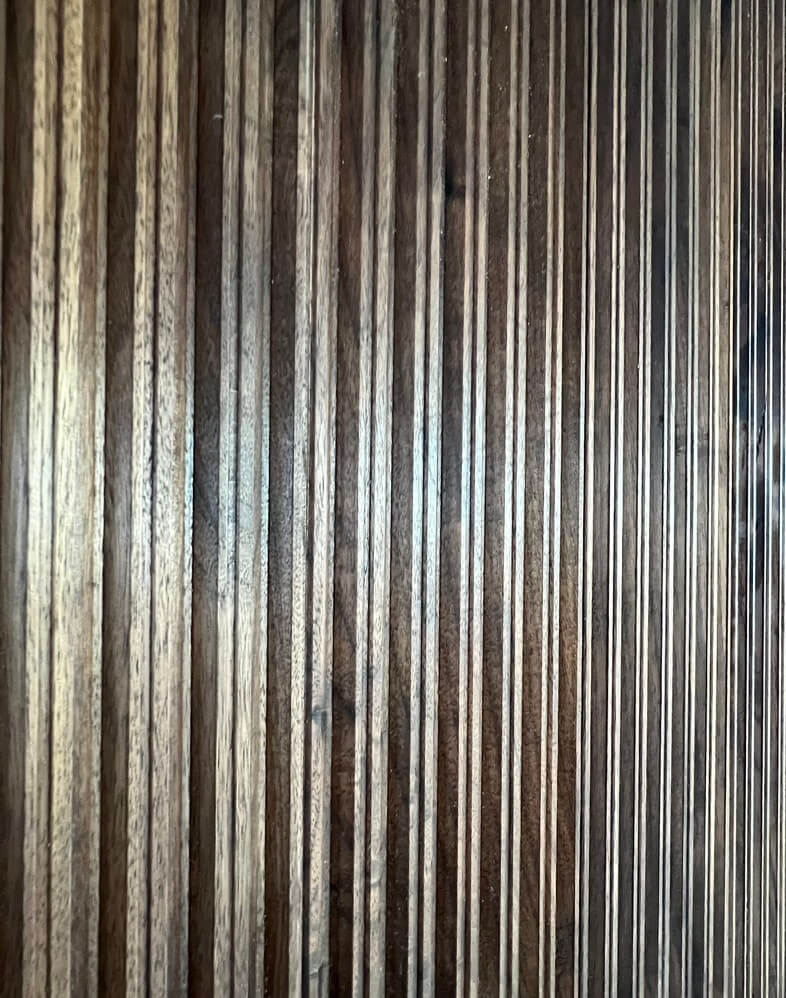
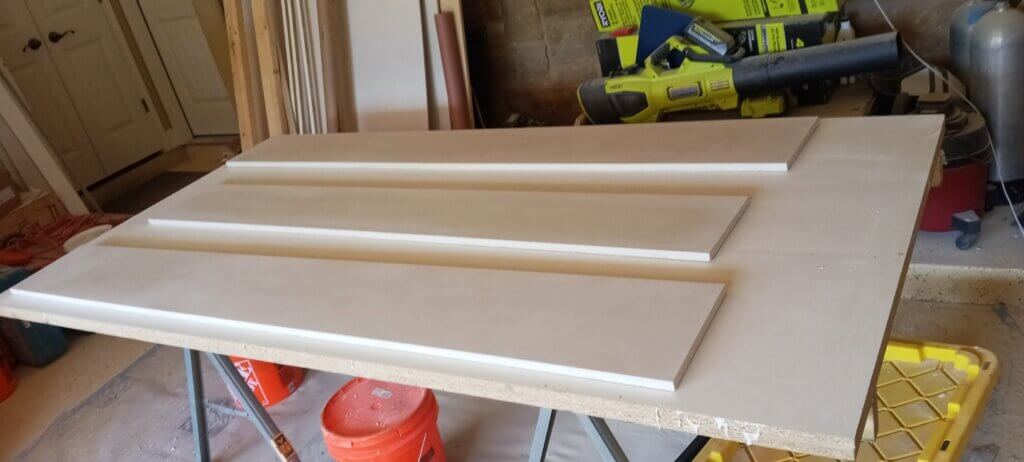
The custom milled walnut boards (Below) have 2 depths to the combed pattern. it gives it more dimension than a standard combed pattern. We hand sanded and finished all of the milled walnut.
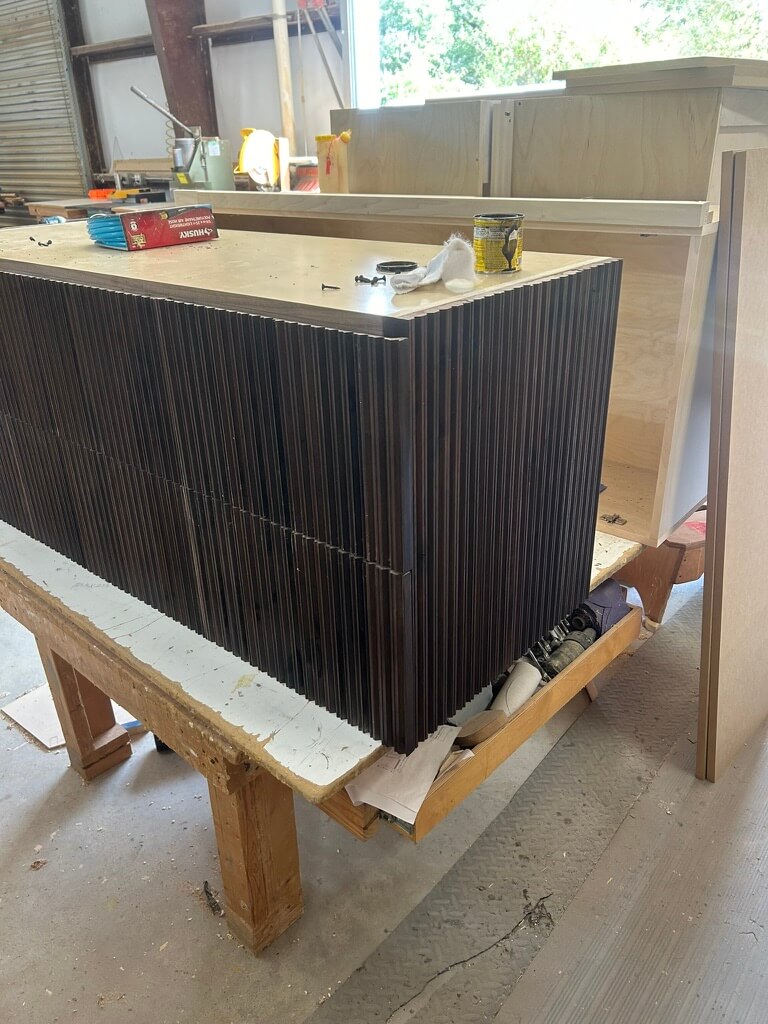
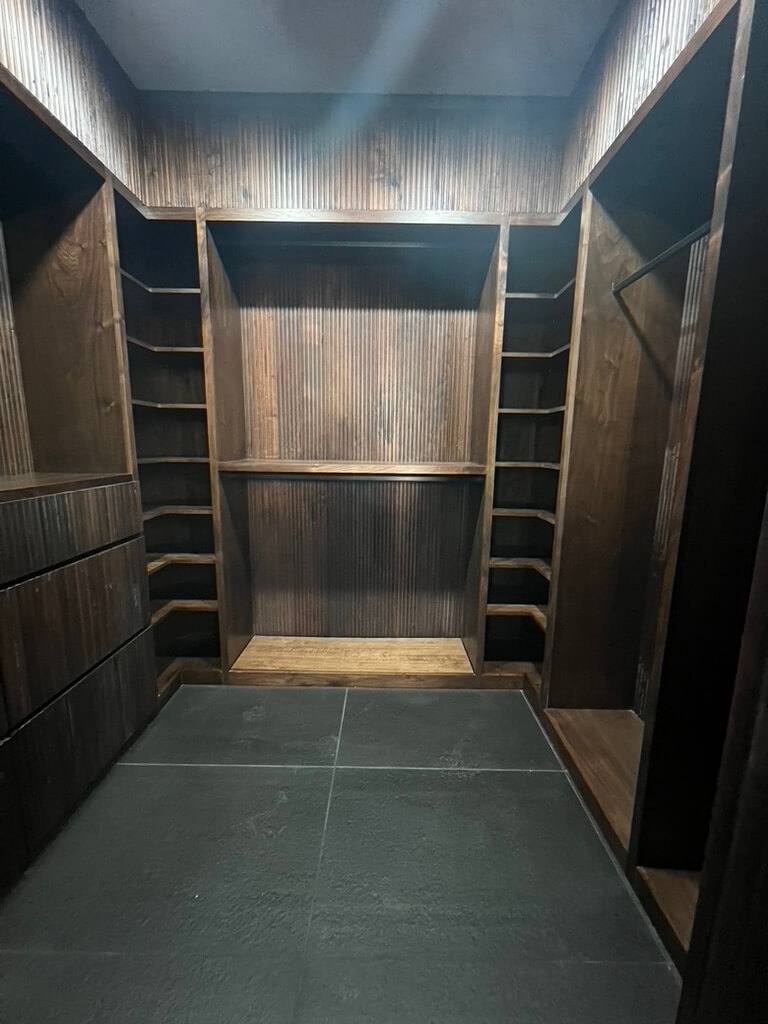
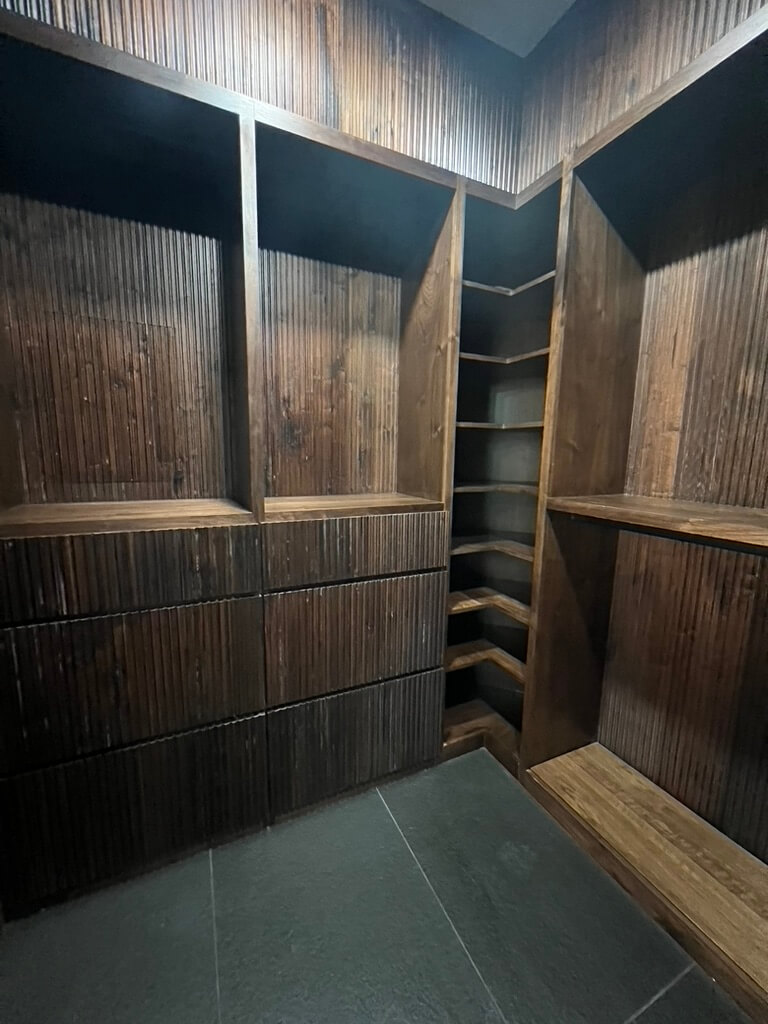
CUSTOM MILLED WALNUT CABINETRY
Here are a few pictures (Below) of the custom vanity as well as closet cabinets.
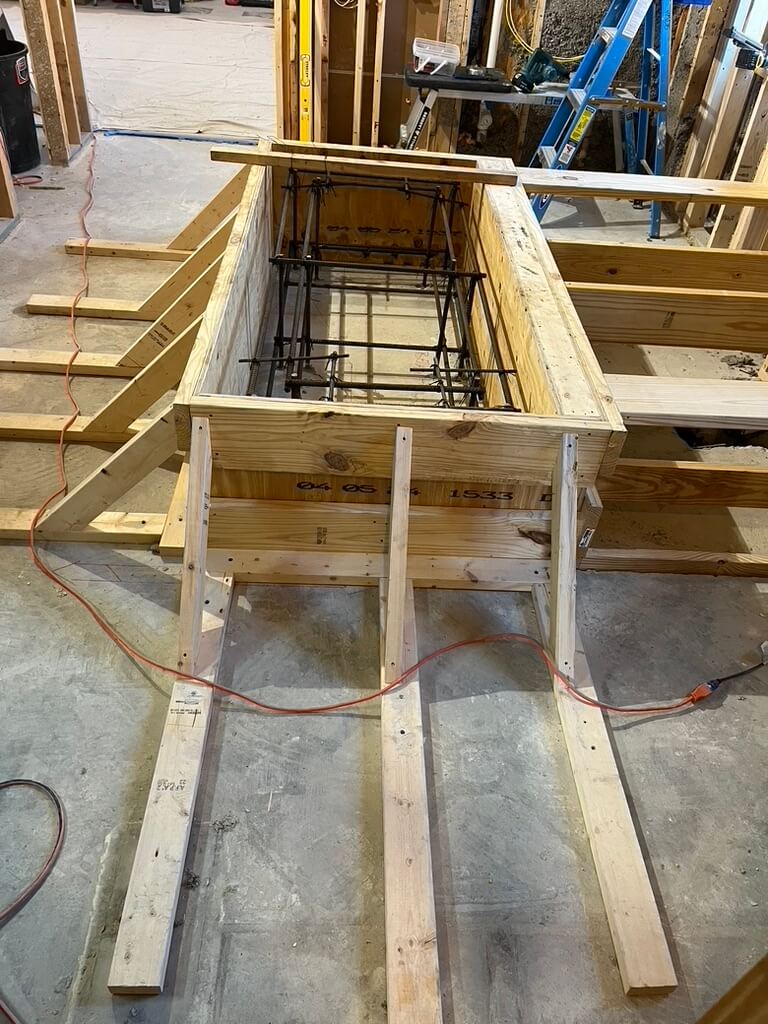
SHOWER BENCH SUB STRUCTURE
We constructed the substructure for the shower bench in solid concrete. In the picture (Below) the seat has double caged # 6 rebar and solid forms that were made by us. We sloped the sub structure towards the shower pan.
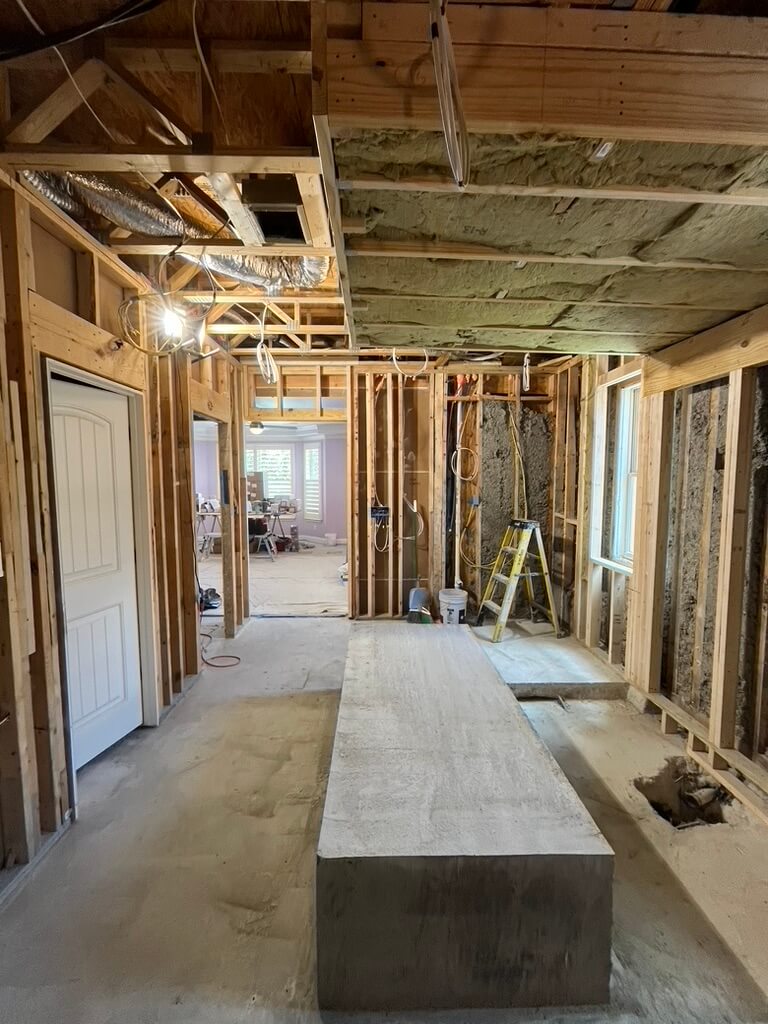
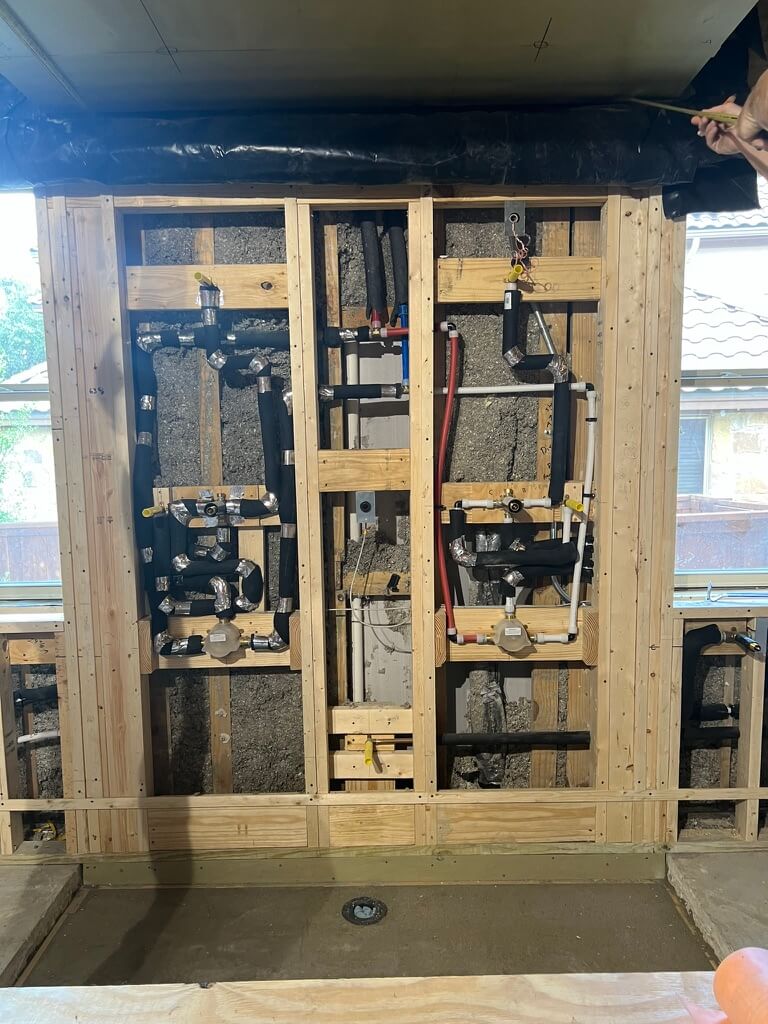
PLUMBING & FRAMING
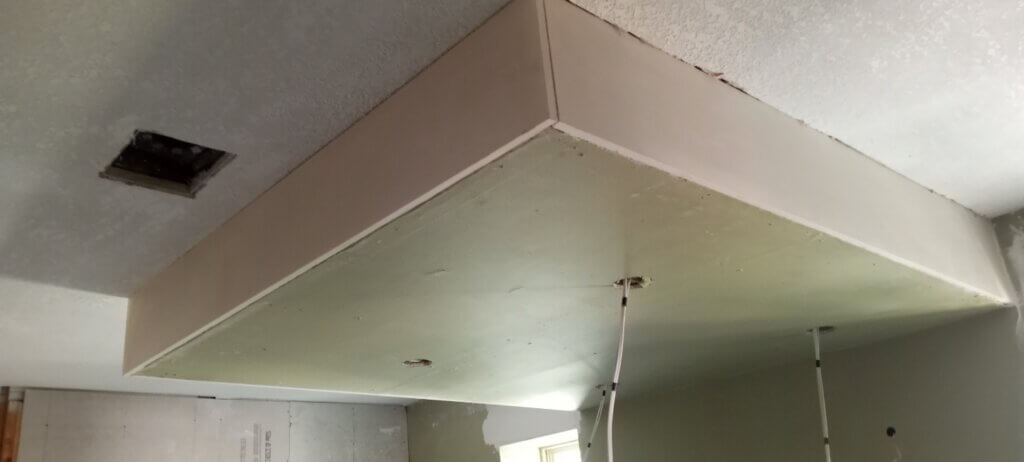
The pictures (Below) highlight the framing and the shower plumbing. Take note of the substantial framing for the shower doors to attach to. I sloped the soffit towards the plumbing wall (since it is a steam shower).
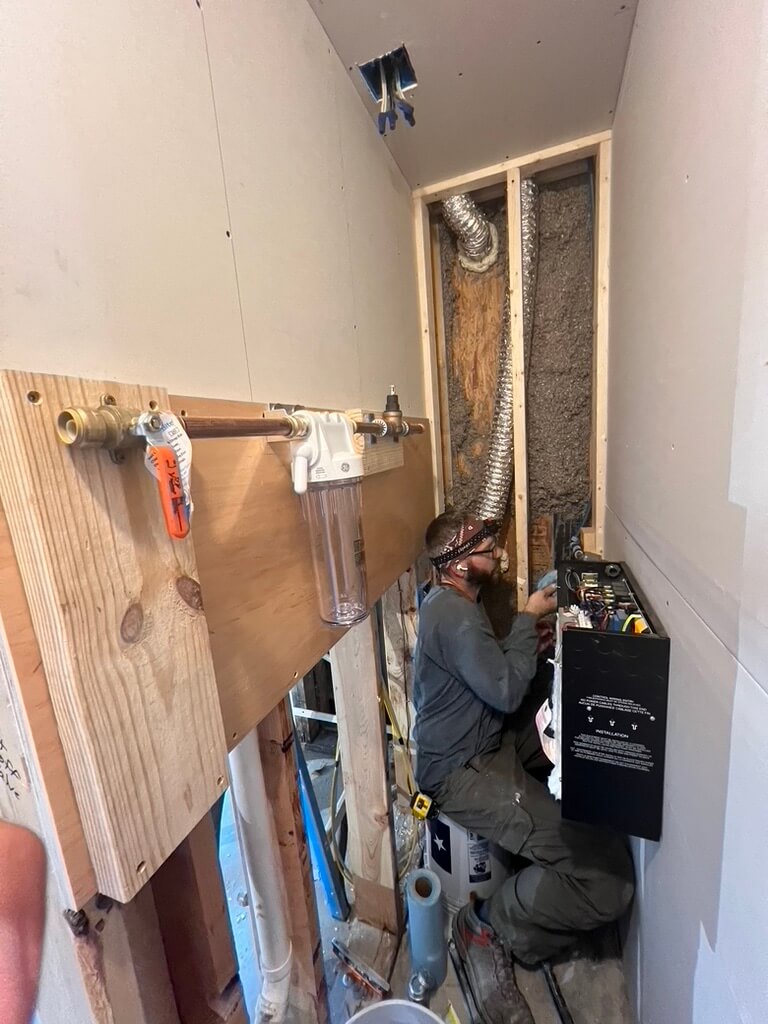
Pictured (Below) is the room that is housing all of the equipment for the steam shower. To the left, we installed a shut off, filter, and pressure regulator. the steam generator is the box on the right hand side.
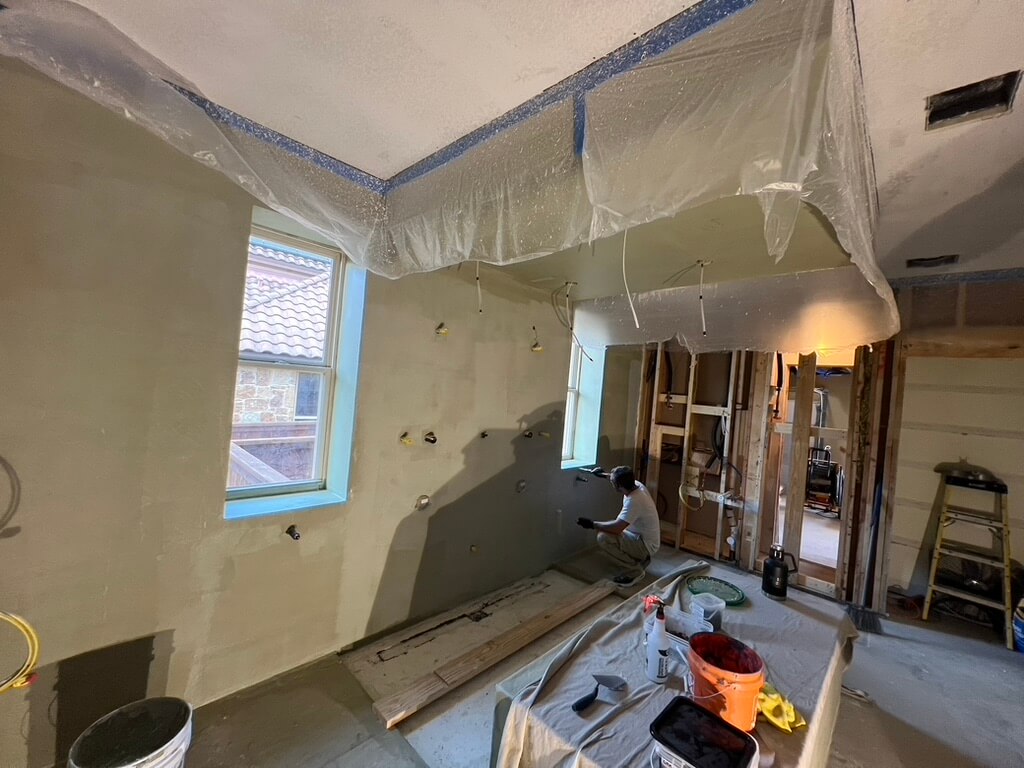
WATERPROOFING THE STEAM SHOWER
We installed 2 moisture / vapor barriers as required in a steam shower. In the first picture (Below) you can see the black 8m Visqueen under the Hardibacker. There is also Hydroban on all of the Hardibacker as well as the shower seat.
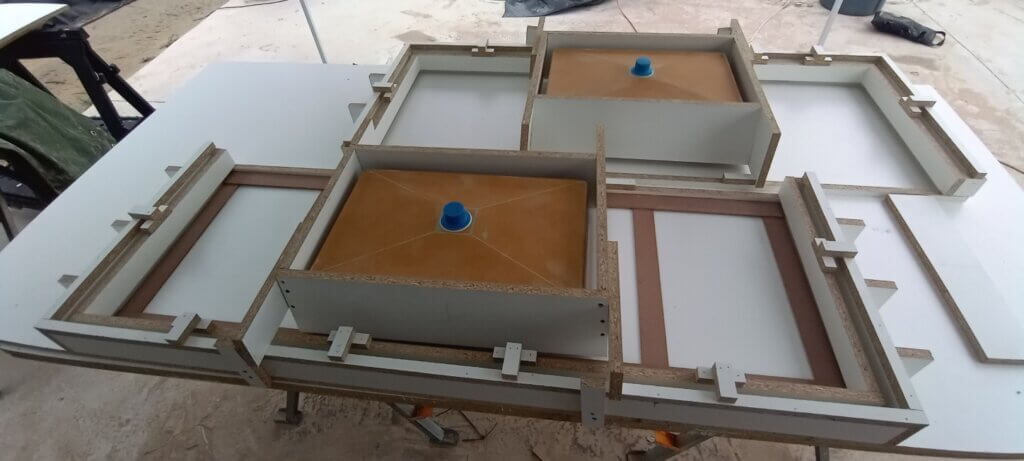
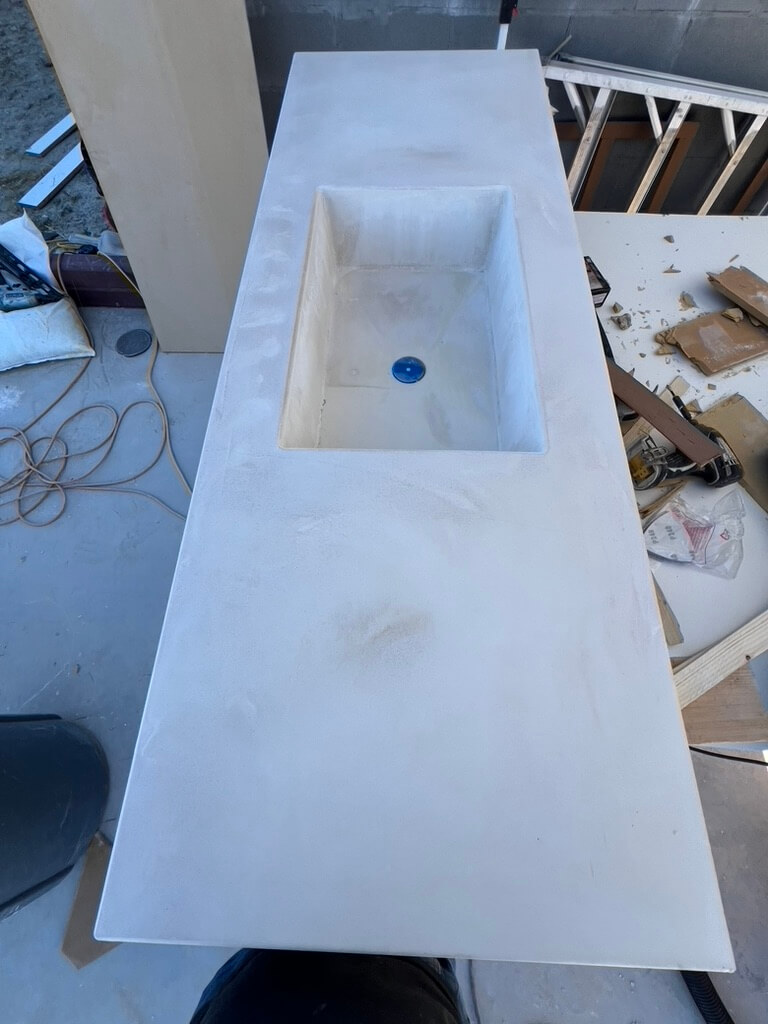
CUSTOM CONCRETE COUNTER TOPS / CLADDING
The concrete cladding and counter tops were made on site. You can see the processed pieces in the picture (Below). Also pictured are the forms for the countertops with the integrated sinks. the last picture is one of the counter tops
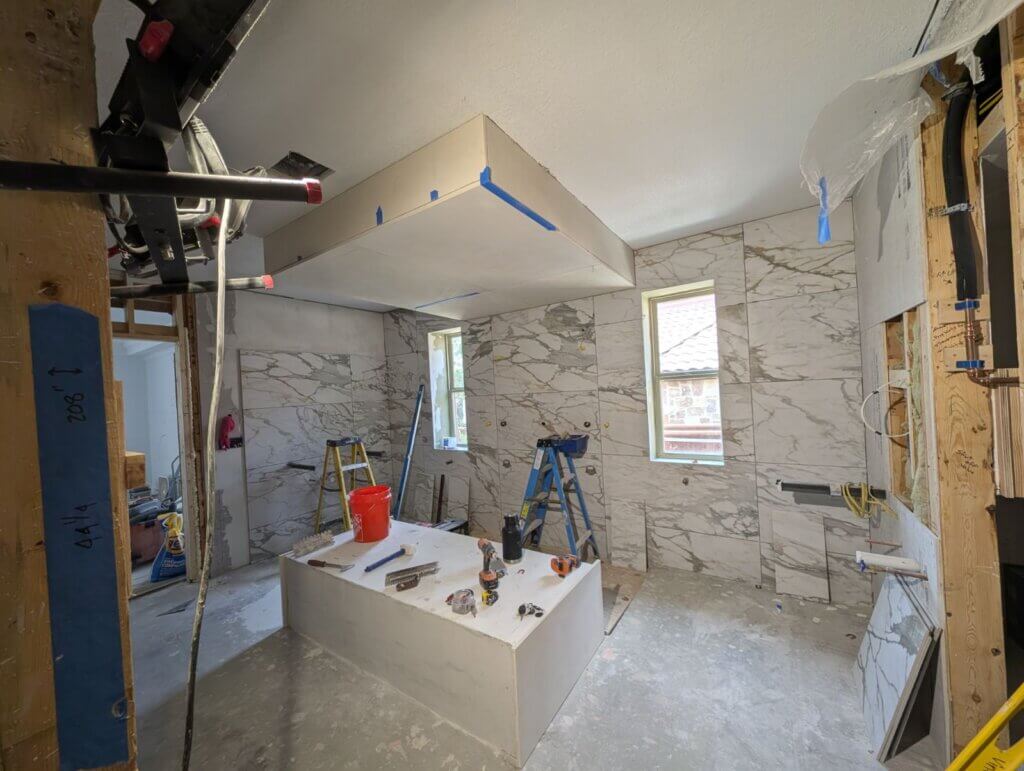
LARGE FORMAT TILE INSTALLATION
The next picture (Below) illustrates the large format tile installation for the steam shower / bathroom walls
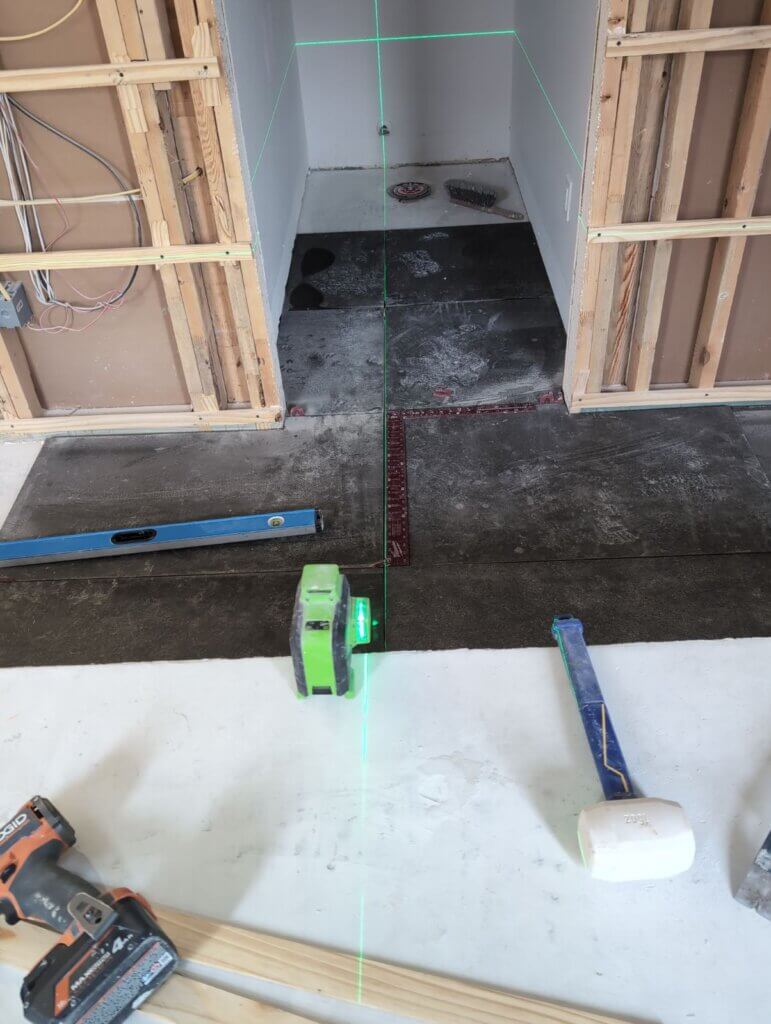
LARGE FORMAT BASALT FLOORS
We picked 2′ x3′ Basalt stone tiles for the floor. They were almost an inch thick and weighed 60-70 lbs each. Note the tools used below to ensure a precision installation.
METAL BRACKETS TO SUPPORT VANIITY COUNTER TOPS
The picture (Below) was taken before we installed the counter tops. Notice the 2 metal brackets above the vanity. We custom made the brackets to support the weight of the concrete counter tops above the floating vanity cabinets.
If you are looking for a highly skilled Kitchen & Bathroom Remodeling Contractor in the Austin TX / West Lake Hills area. Give us a call!!