Step by Step Shower Construction
This is a step by step look at our shower construction and waterproofing methods in the Austin, Lakeway, & West Lake Hills, TX areas. Although you might think that everyone should be remodeling showers and bathrooms this way. That is the whole point – not very many contractors do, if any. When you are getting bids for your bathroom remodeling project or shower remodel, ask your contractor about specifics. Ask them about their waterproofing methods. You will see that you are getting much more for your money with us.
Below are pictures with detailed explanations of what we do. We are not diving into every little detail as we do in the video above (like the framing, plumbing, blocking the walls, etc.), but this overview will give you a better understanding of many things we do and other bathroom remodeling companies do not. We have nothing to hide. You can expect this level of quality on every job we do regardless of the finish materials used. Enjoy!
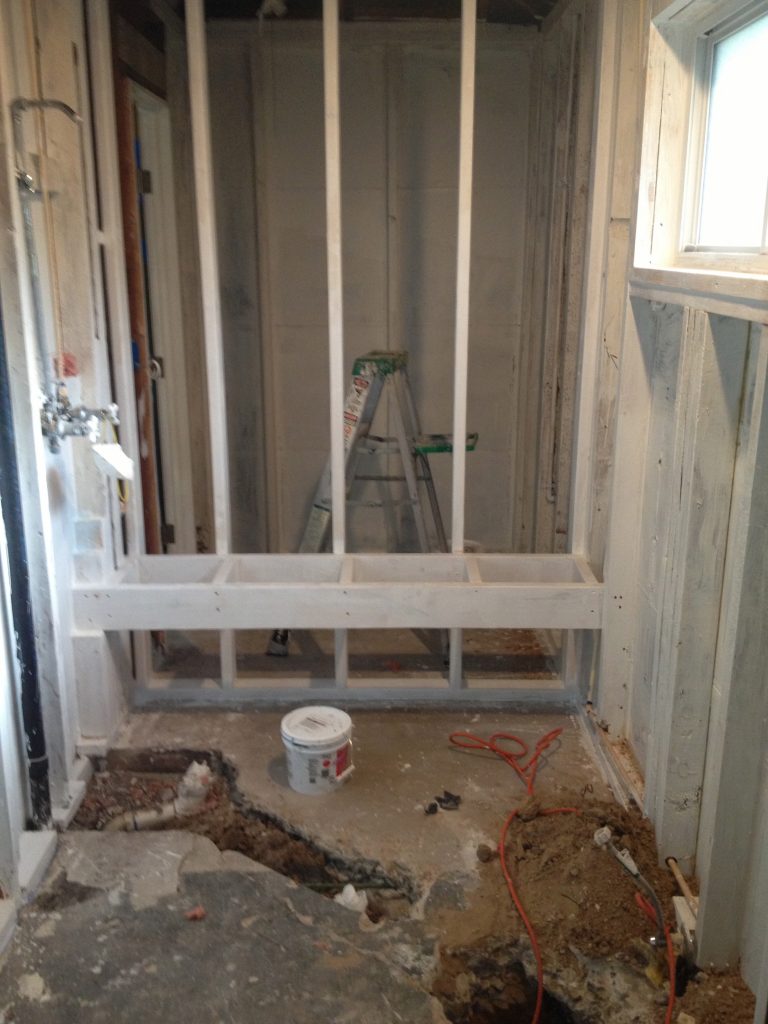
*Step 1- Centering the drain as well as framing the walk in shower ( this one is 40 sq ft)
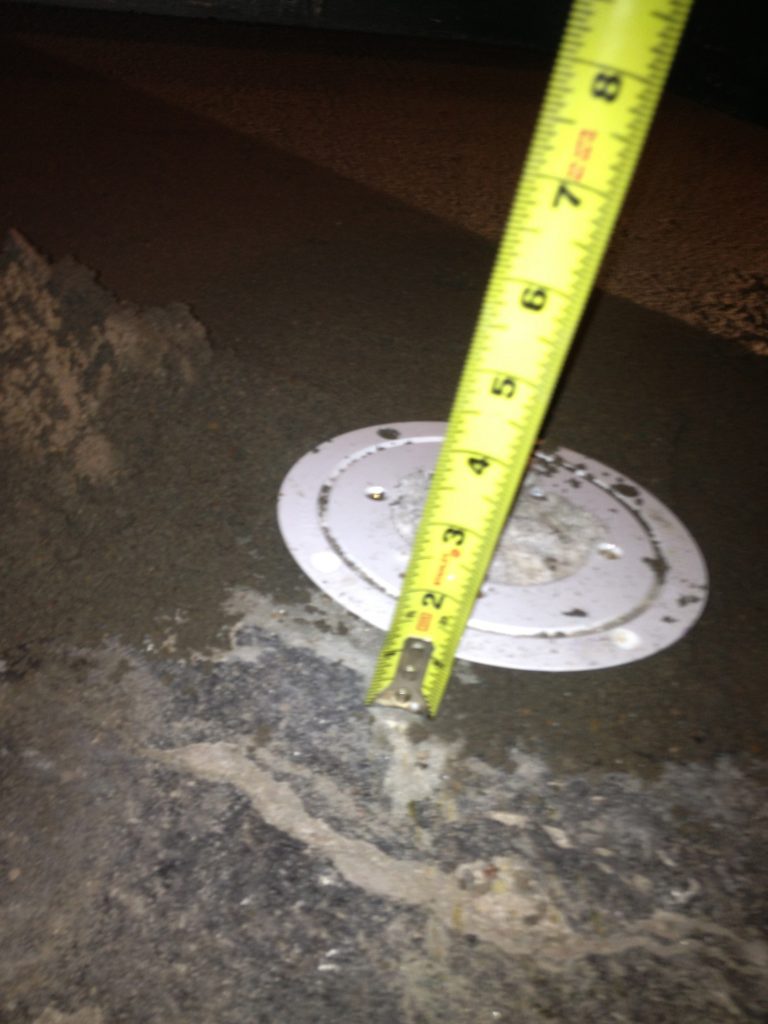
*Step 2-The drain is set 1″ above the existing slab height in order to give us the 1″ minimum thickness of concrete for our pre slope, which is the sloped layer of concrete underneath the waterproof shower membrane. If you have less than an inch at the drain, you run the risk of the concrete fracturing. It will compromise the integrity of the waterproof layer. Many companies in Austin use floor patch and just skim the existing pan edges, these showers will fail over time.

*Step 3-This is our pre slope. Many contractors neglect this step. Austin building codes do not require this step. They only check to see if the pen holds water. If this step is not done. Water will sit above the waterproofing and not drain to the weep holes. This sitting water will form mildew that will grow into the pan and behind the wall tiles.
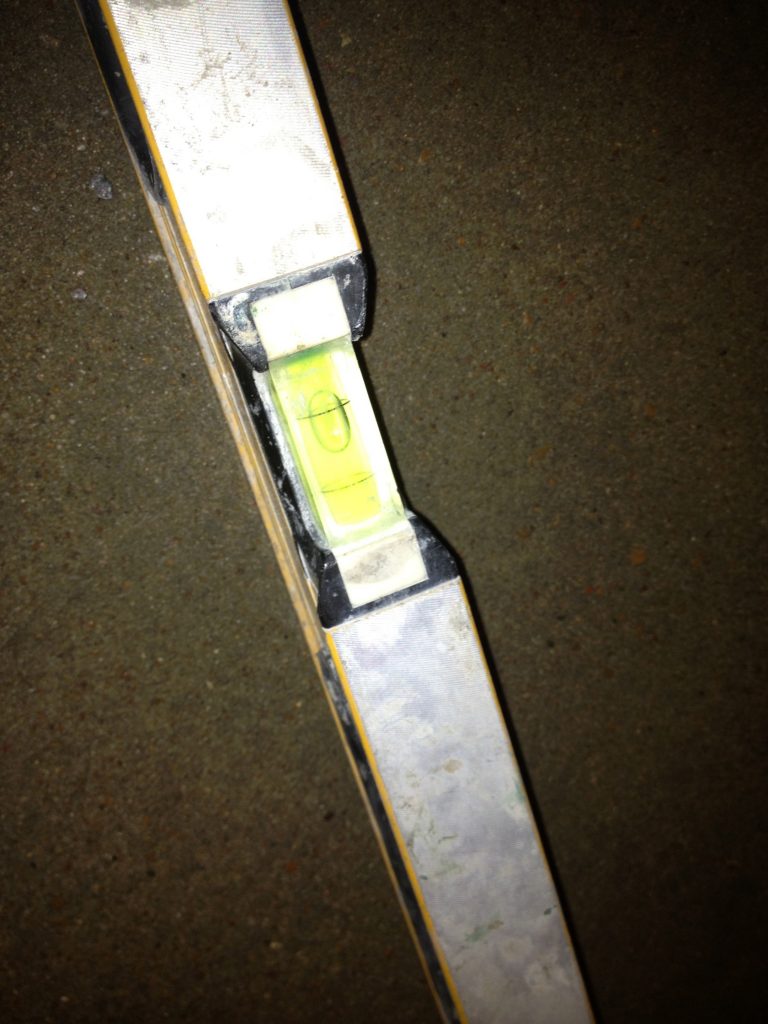
This shows our 1/4 bubble pitch

*Step 4- After we tape all gaps where the framing meets the shower pan. Trowel on an 1/8 inch layer of rubberized waterproofing compound all the way around the framing and shower pan.

Step 5- . We counter flash the pan liner with a water resistant backer board material making sure not to put any screws into the bottom 5 inches (so that we don’t puncture the membrane). We then mesh tape all of the seams and corners (This acts as an expansion joint to prevent cracking). We paint 3 coats of the rubberized waterproofing compound on the seams, corners, and screw holes.

Step 6- We then completely coat the backer board with the rubberized waterproofing membrane.
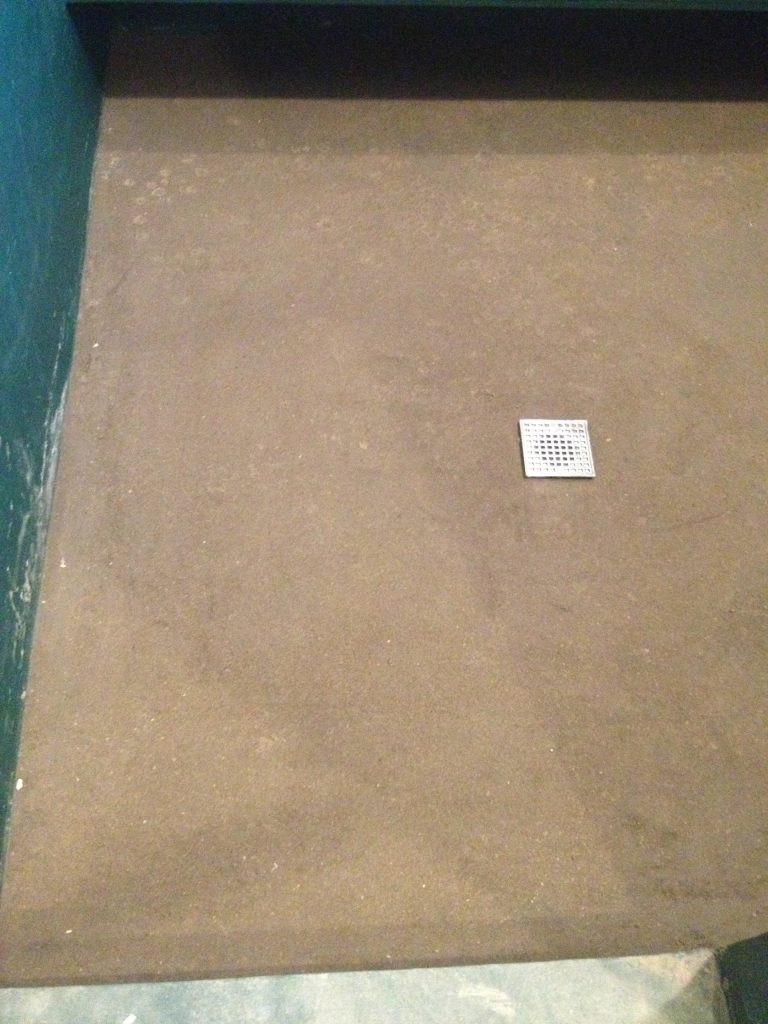
*Step 7-This is the dry pack. It is the concrete layer sloped to the drain which the mosaic tile or stone is installed over. Moisture will always work its way through this material and to the liner, thus the importance of the pre slope.

Step 8- We put a couple more coats of waterproofing before setting our first rows of stone. Most installers just put thin set on the walls and stick the stone or tile to that. We thin set the walls and also the back of each piece of stone before tapping it into place and checking that it is plumb and level. Notice the Stabila Levels ( You won’t find those at Home Depot!!)

Step 9- After installing the back wall, we make sure we are square to the back wall when installing our side walls. Also notice how we make sure the grout joints and surface of the stone is kept clean as we install.

Step 10- We fabricate a bridge so we can install the shower seat with zero slippage.

Step 11-We then install the hexagon mosaics to the shower pan and 2×2 sandstone to the accent wall.

Step 12-After sealing the stone, grouting, and sealing a second and third time, we install the plumbing fixtures, and Mosaic granite counter tops

There are also many details that are not described in here but that are equally as important in a bathroom remodel in Austin TX. Any one of these steps that gets neglected and that leads to a failed shower. Another issue is people going through the motions of these steps and not doing them properly. It takes years of practice to get the results pictured above and have a shower with zero future issues. All of these do it yourself shows get everyone thinking these things are easy. I’ve even seen a youtube video of Bob Villa showing people how to do a shower the wrong way, in addition to many “Tile Masters”. Everything listed in my process above can be verified on the website for The Tile Council of North America.
Your best weapon against faulty workmanship is knowledge.
Don’t take my word for it.
I look forward to your call.